Support
Setup for your Simmons SD1500
Lemon pads cover snare, toms, kick, cymbals, ride, and hi-hat on the Simmons SD1500, with the limitations noted below.
- Snare 2-zone
- Toms 2-zone
- Kick 1-zone
- Crash 2-zone
- Ride 2-zone
- Hi-hat Switch (open/closed)
Build my kit for the Simmons SD1500
Every pad here is a full fit for this module and in stock.
-
High tom
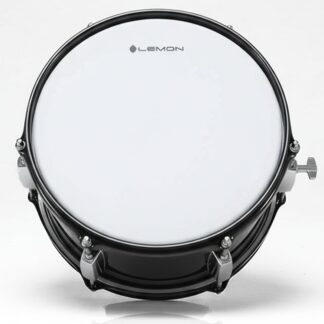 T950 10"x5" High Tom
$119.99
-
Low tom
 T950 13"x13" Floor Tom
$209.99
-
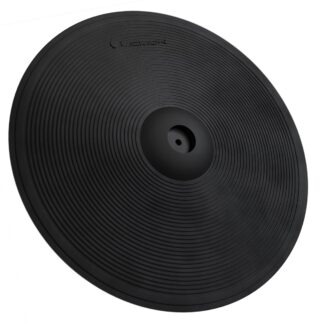
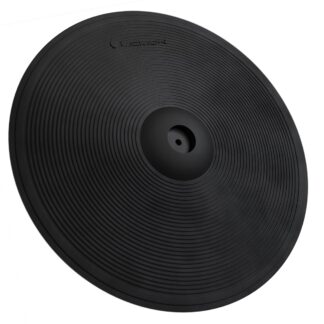
Crash
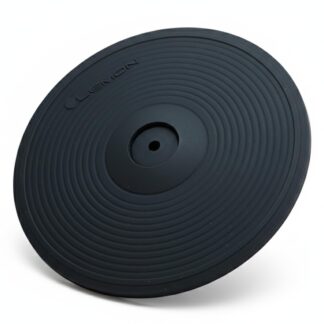
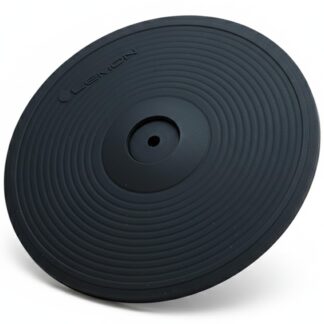
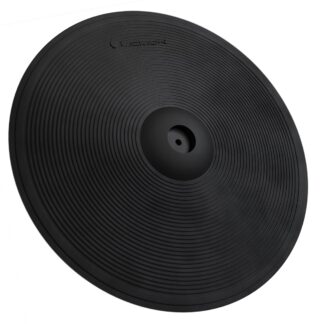
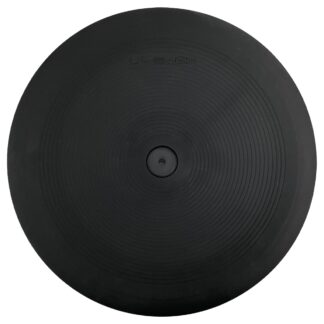
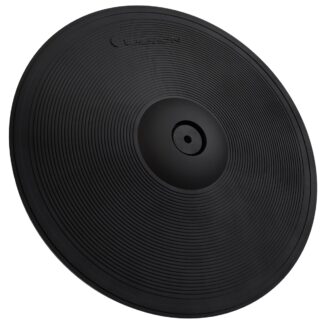 15" Triple-Zone Crash/Ride
$129.00
- Subtotal
- $458.98
- Bundle & Save (8.2%)
- −$37.83
- Kit price
- $421.15
Module snapshot
- Brand
- Simmons
- Model
- SD1500
- Also known as
- SD1500
Setup details by role
Snare pad 2-zone The "To Snare" branch of the multi-pin cable harness → snare pad
The snare input supports dual-zone (head + rim) triggering via the center piezo and the rim piezo.
Tom pad 2-zone The "To Tom 1"–"To Tom 3" branches of the multi-pin cable harness → one per tom pad (a fourth tom: 1× TRS → the side-panel TOM 4 jack)
The tom inputs support dual-zone (head + rim) triggering via the center piezo and the rim piezo.
Kick pad Works The "To Kick" branch of the multi-pin cable harness → kick pad
Single-zone kick trigger. Only the head zone is active.
2-zone crash 2-zone The "To Crash" branch of the multi-pin cable harness → cymbal, or 1× TRS → the CRASH 2 jack on the side panel
Dual-zone cymbal triggering on both crash inputs — the module's pad note table gives Crash 1 and Crash 2 each a bow note and a rim note.
3-zone ride 2-zone The "To Ride" branch of the multi-pin cable harness → Ride 1 (bow/edge)
Plug the ride branch of the harness into the Lemon ride's Ride 1 output for bow + edge — no cymbal modification. The SD1500 has a single ride connection, so you get two of the ride's three zones.
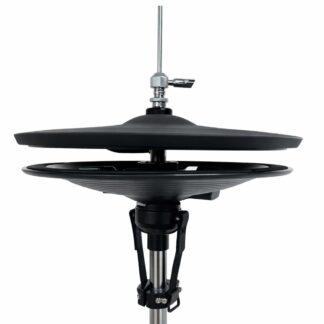
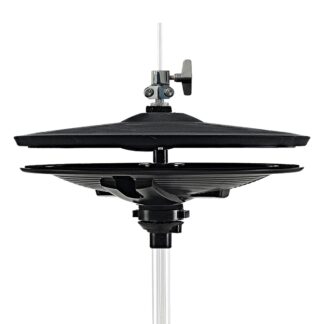
Hi-hat Open/Closed "To Hi-Hat" branch → hi-hat pad + "To Hi-Hat Control" branch → hi-hat controller, both on the multi-pin cable harness
The Lemon hi-hat pad and controller connect through the multi-pin cable harness and deliver open and closed hi-hat.