Support
Setup for your Pearl Mimic Pro
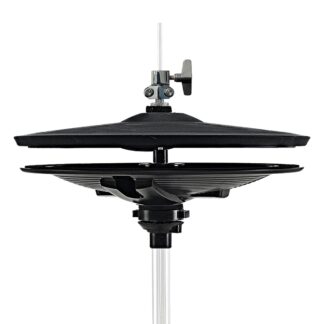
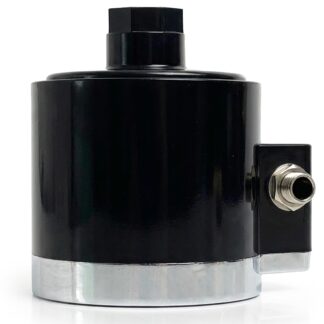
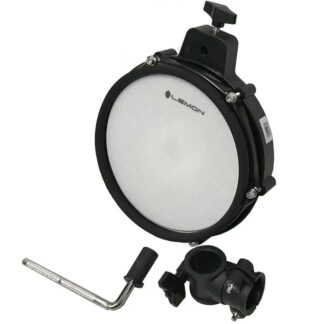
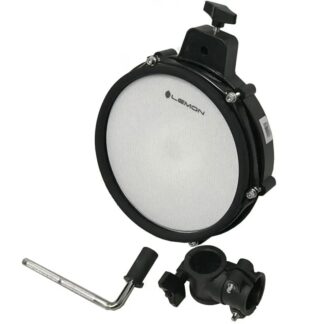
Yes — Lemon pads cover snare, toms, kick, cymbals, ride, and hi-hat on the Pearl Mimic Pro.
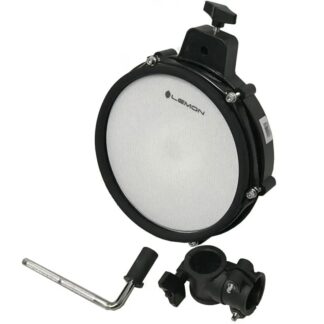
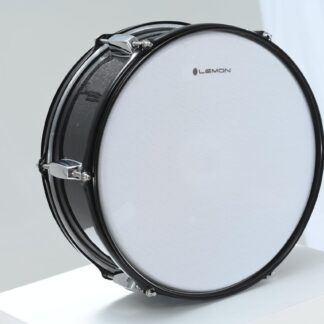
- Snare 2-zone
- Toms 2-zone
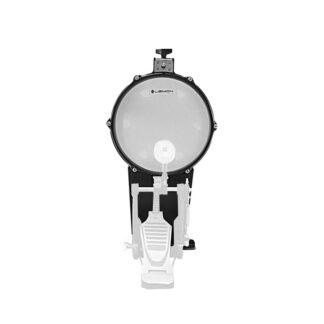
- Kick 1-zone
- Crash 2-zone
- Ride 3-zone
- Hi-hat Continuous
Module snapshot
- Brand
- Pearl
- Model
- Mimic Pro
- Also known as
- Mimic Pro, Mimic PRO
Setup details by role
Snare pad 2-zone 1× TRS → SNARE input (1/4" TRS jack)
The snare input supports dual-zone (head + rim) triggering via center piezo and rim switch.
Tom pad 2-zone 1× TRS per tom → TOM1, TOM2, TOM3 inputs (1/4" TRS jacks)
The tom inputs support dual-zone (head + rim) triggering via center piezo and rim switch.
Kick pad Works 1× TS or TRS → KICK input (1/4" TRS jack)
Single-zone kick trigger. Only the head zone is active.
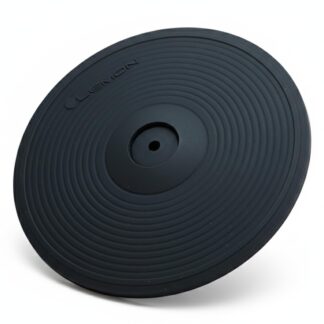
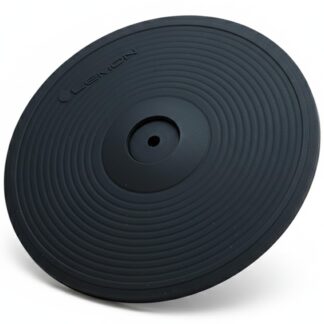
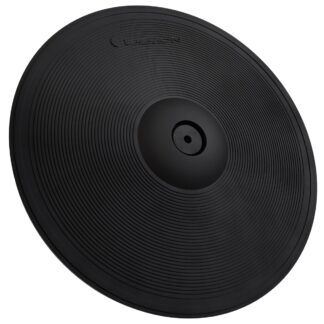
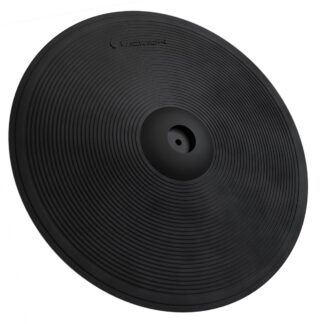
2-zone crash 2-zone 1× TRS → Crash1 or Crash2 input (1/4" TRS jack)
Full dual-zone cymbal support with bow and edge. Choke supported.
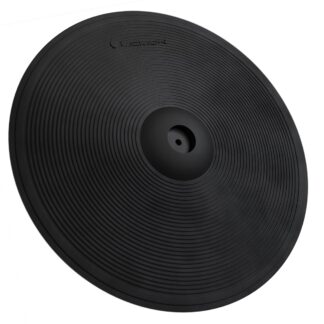
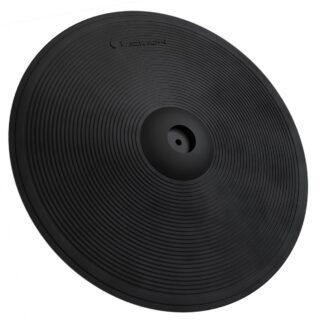
3-zone ride 3-zone 1× TRS → Ride 1 input + 1× TRS → Ride 2 input (dedicated bell jack)
The Mimic Pro has two dedicated ride inputs — the manual instructs connecting the ride bow cable to Ride 1 and the ride bell cable to Ride 2.
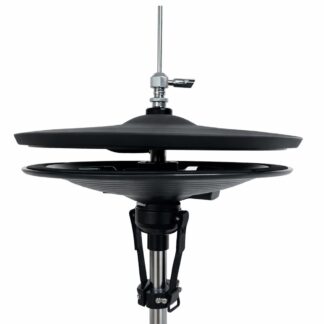
Hi-hat Continuous 1× TRS pad → Hi-Hat input + 1× TRS pedal → HH Controller input (1/4" TRS jacks)
Continuous hi-hat control is supported via the Hi-Hat pad input and the dedicated HH Controller input, calibrated with the module's HH Pos meter and Hi-Hat Control Curve.