Support
Setup for your Donner DED-200
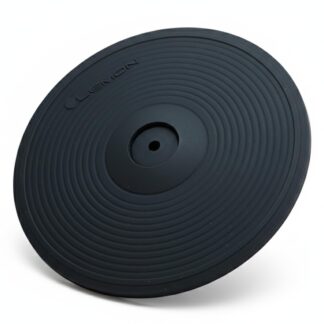
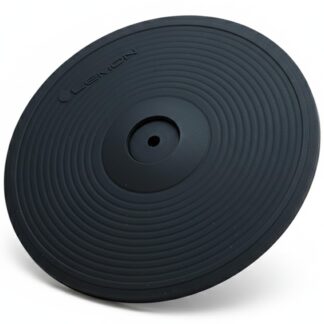
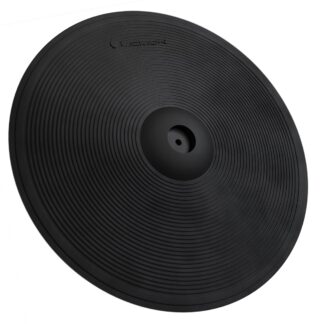
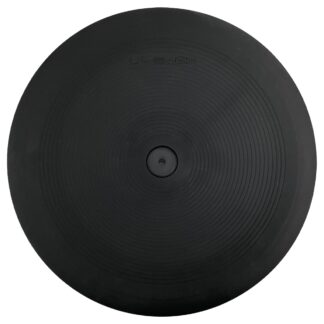
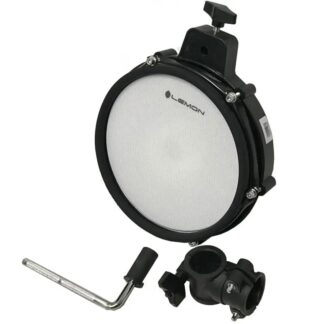
Lemon pads cover snare, toms, kick, cymbals, ride, and hi-hat on the Donner DED-200, with the limitations noted below.
- Snare 2-zone
- Toms 1-zone
- Kick 1-zone
- Crash 2-zone
- Ride 2-zone
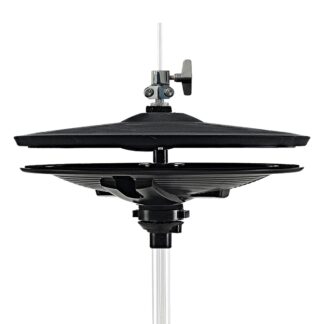
- Hi-hat Switch (open/closed)
Module snapshot
- Brand
- Donner
- Model
- DED-200
- Also known as
- DED200, DED-200
Setup details by role
Snare pad 2-zone Snare connector on the cable harness → snare pad
The DED-200 snare channel is dual-zone — the head and the rim/sidestick trigger as separate MIDI notes. Pads connect through a labeled multi-pin harness that plugs into the module's parallel trigger port.
Tom pad 1-zone Tom1, Tom2, Tom3 connectors on the cable harness → one per tom pad
The DED-200 tom inputs are single-zone. Only the head zone will trigger; rim hits will not produce a separate sound.
Kick pad Works Kick connector on the cable snake → kick pad
Single-zone kick trigger via the cable snake. Only the head zone is active.
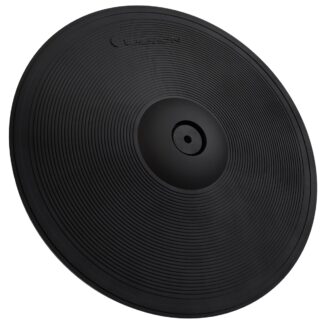
2-zone crash 2-zone Crash connector (via cable snake) → cymbal, or 1× TRS → Crash 2 jack (1/4" TRS, rear panel)
Connect to Crash connector on the cable snake or Crash 2 jack on rear panel.
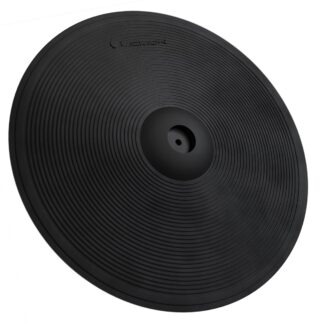
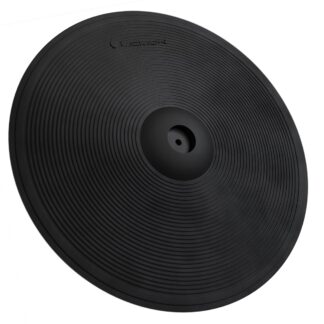
3-zone ride 2-zone The ride lead on the cable harness → Ride 1 (bow/edge)
Plug the harness's ride lead into the Lemon ride's Ride 1 output for bow + edge — no cymbal modification. The DED-200 has no ride-bell voice, so bow + edge is the full 2-zone ride it can drive.
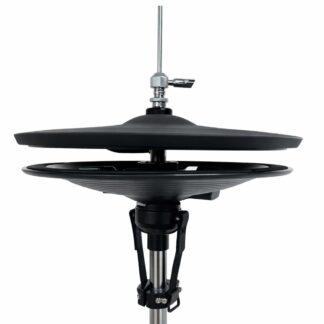
Hi-hat Open/Closed Hi-hat leads on the signal-connection cable, whose plug screws into the module's parallel-port connector → hi-hat pad + hi-hat controller
Basic open/closed pedal switching. No continuous control.